Container widget
The container widget enables you to add additional widgets in to a specific container or also known as a block.
Adding a container widget to your website. To add a container go to > Widgets and select container

Once your container is set up, there are many settings available to help you create and design the perfect section for your page.
Let's take a look closer at the container settings.
Below you will see:
Block settings
Column settings
Block display tab
Add block
Within a container you can edit:
Background colour
Add video
Gradients
Overlays
Shape dividers
Anchor points
Container Elements
Before we get in to the finer details let's take a look at the main container elements.
Like any container/block you can make divisions and create multiple horizontal columns and also vertical columns. The image below shows the container/block being split into 3 horizontal columns.
To split the container into up to 5 columns, hover your mouse at the top of the selected container or block. A button will appear to perform the split.
Note: Each column can be resized to the width you require. Additionally you can also add borders and different colours to each column.
In the image below we have added a colour to the columns so you can see visually what we mean.
Before we progress on how to use columns for your content, let's discuss creating vertical columns. You can add a new column either above or below the existing three columns. Click the plus (+) icon to add a new column above, for example.
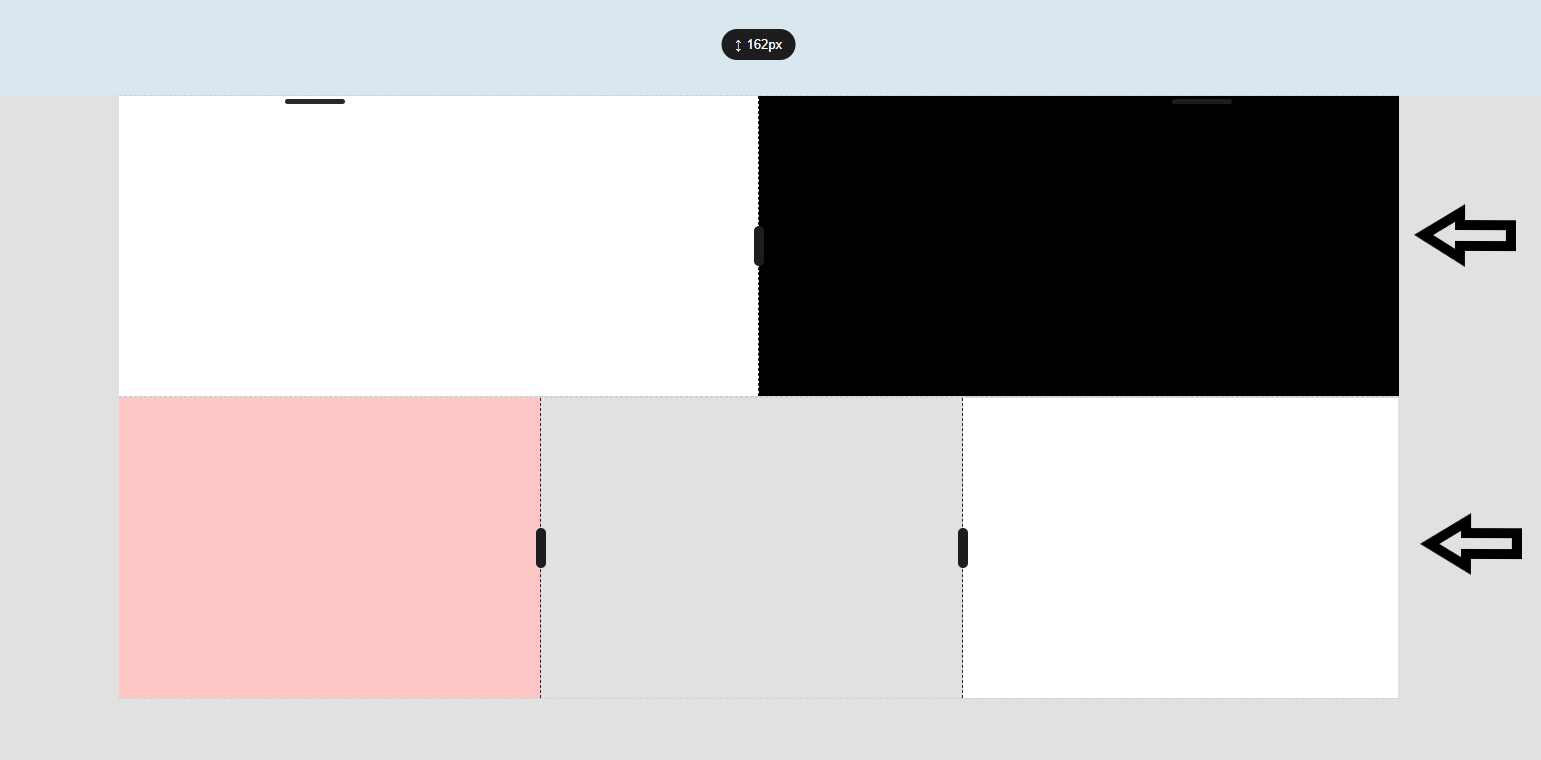
We have added a new row above the previous one. This row has two columns: white and black for reference.

Now we have one container with:
2 columns
3 columns
Global column
Global columns streamline your design process by allowing you to use the same block on multiple pages. With the global column setting, you can update one location, and the changes will automatically apply to all columns sharing the same global column information.
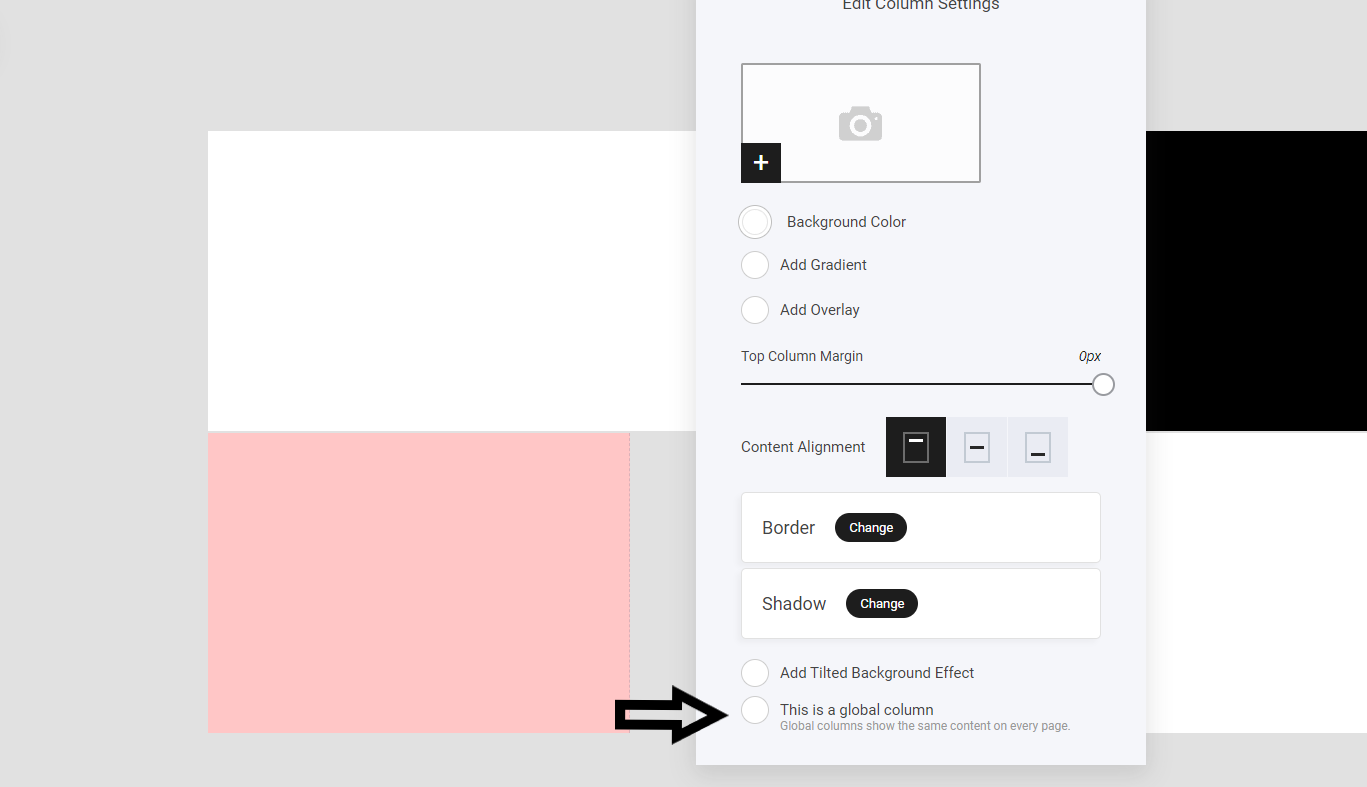
To create a global column, first select the desired column. Then, navigate to the settings pop-out and select 'This is a global column'.

After selection, a drop-down menu will appear. For first-time users, only one option will be available, as illustrated below:
After selecting the option, name your column and click save. Now, your column is global. This means that if you copy and paste this column to multiple pages on your website, any edits made will reflect on all instances of the global column.
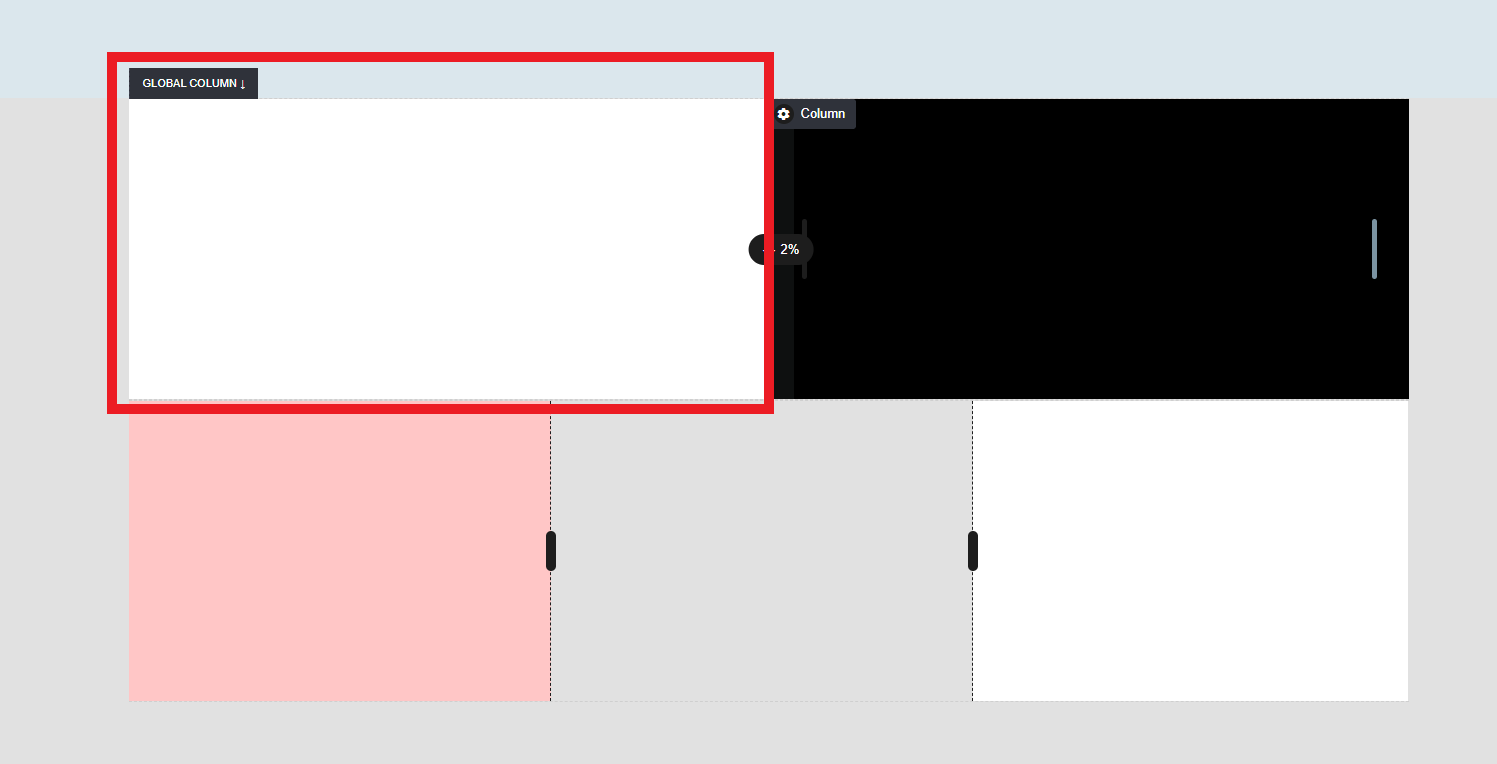
The image below shows the column we converted into a global column. No other columns will be affected.

To remove or rename a column, either deselect the option or click on the rename text.
Anchor points
Anchor points are specific sections of your website that you direct visitors to when they click on a call-to-action button or a link within the text.
If you have a button on your website that you want visitors to click, you can link it to a specific section on the same page. When clicked, it will take users directly to the section where the anchor point is placed.
How to add an anchor point:
Navigate to Container Settings.
Select Anchor Point.
Label your anchor point for future reference.
Add the anchor point link to the call to action (e.g., a button).
Adding your anchor point from your call to action
Select your originating call to action. In this case we will use a button.
Select the anchor point, then choose the page, section, or funnel step where your anchor point is located. It will have the same label you assigned earlier.
Note you can have different anchor points across different devices 'Mobile and desktop' if required.
Make sure you have saved your anchor point if it does not appear in the drop-down menu. Once saved, it will be listed.
Container additional settings
Within the container you can control:
Container delay
Hide/make container draft
Block/container positioning
Container Delay functions just like any widget delay: You can choose a specific time frame for the whole container to appear when a visitor views your website.
Hiding or marking a container as a draft will make it invisible to website visitors.
Finally, block/container positioning allows you to quickly move your containers up and down the page.
Last updated